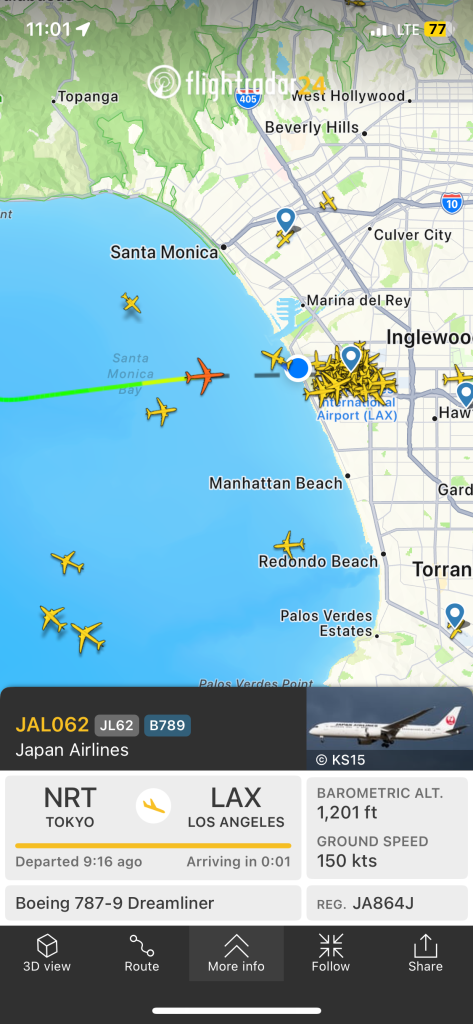
As someone who flies often, I’ve come to rely on FlightRadar24 for a bit of peace of mind—checking airport traffic, tracking incoming flights, or just confirming that yes, the plane I’m waiting on really hasn’t left yet. So when I learned that FlightRadar24 lets you contribute live aircraft tracking data from your own home, I was intrigued.
I assumed it’d be complicated. It wasn’t. I set it up in under an hour, and now I get a Business-level subscription (normally $500/year) for free—plus a live stats dashboard of all the aircraft my antenna picks up.
Here’s how it works—and how you can set up your own.
What You Need
The core of the setup is just a Raspberry Pi connected to an ADS-B antenna. Here’s what I used:
- Raspberry Pi (Model 3B+ in my case, though newer models work too)
- ADS-B USB receiver (the kind tuned to 1090 MHz)
- Stock antenna that came with the USB dongle
- MicroSD card (at least 8GB)
- Power supply for the Pi
- Optional: a case for the Pi and a better antenna placement (e.g., near a window)
No soldering. No weird configuration files. It’s basically plug-and-play.
The Setup Process
- Download the Pi24 Image
Head to flightradar24.com/share-your-data and download the Pi24 image—a prebuilt Raspberry Pi operating system that includes all the FlightRadar24 feeder software. - Flash the Image to a microSD Card
Use Etcher (or Raspberry Pi Imager) to write the image to your SD card:- Open Etcher
- Click “Flash from file” and select the Pi24 image you downloaded
- Click “Select target” and choose your SD card
- Click “Flash” and wait for it to finish
- Eject the card once complete
- (Optional) Set Up Wi-Fi
If you’re not using Ethernet, you can set up Wi-Fi before inserting the card:- Reinsert the SD card into your computer
- Find a file called wpa_supplicant.conf.template
- Rename it to wpa_supplicant.conf
- Open it and enter your Wi-Fi network name and password in the quotes
- Save the file and eject the card
- (Optional) Restore an Existing Radar ID
If you’ve previously hosted a feeder and want to reclaim your radar ID:- Find the file fr24key.txt on the SD card
- Paste your existing sharing key as plain text into the file and save it
- This lets FlightRadar24 recognize your setup automatically
- Assemble and Power Up
Insert the microSD card into your Pi. Plug in the ADS-B USB dongle and antenna. Then connect power (and optionally Ethernet if you’re not using Wi-Fi). - Register the Receiver
On a device connected to the same network, visit flightradar24.com/share-your-data. The system will detect your Pi24 feeder and guide you through registering it. - Start Feeding and Get Access
Once your feeder is active, you’ll receive an email from FlightRadar24 with instructions on how to access your free Business subscription, as well as your personal dashboard showing coverage stats, system health, and more.
What You See
Once your tracker is online, you get access to:
- A personal dashboard showing how many aircraft you’re tracking, where they’re headed, and how far away they are
- System health stats for your feed
- Your coverage map—showing how far your antenna can “see”
- Full access to the FlightRadar24 Business tier, including historical flight playback, weather overlays, and more
Notes & Tips
- Antenna placement matters – Height and clear line-of-sight to the sky are more important than antenna type.
- Don’t worry about orientation – The stock antenna is omnidirectional, so you don’t need to angle or point it. Just get it up high and away from thick walls or metal objects.
- Expect a warm-up period – You won’t see a flood of planes right away. Give it 10–15 minutes after powering on for the feeder to start showing data.
- Bookmark your local stats page – Once your Pi is up and running, you can visit its IP address on your network to view real-time stats at http:/<your-Pi-IP>:8754. You’ll see aircraft count, range graphs, and system health.
- Feeder name = your radar ID – Once registered, your feeder gets a name like T-XXXX123. You can use this to check status from anywhere at feed.flightradar24.com.
- Stable power = stable feed – A reliable power supply is important. Sudden shutdowns can corrupt the SD card. If you want to run it 24/7, consider a small UPS or surge-protected outlet.
- You can feed other networks too – FlightAware, ADS-B Exchange, and others allow dual-feeding from the same Pi. Some even give perks (like stats dashboards or premium accounts).
Why It’s Worth It
This isn’t just a hobby project. It’s a tiny piece of real-time infrastructure. Each tracker helps build a more accurate map of our skies. And it’s one of the rare tech setups where:
- You learn something
- You contribute to something
- You get rewarded with a full-featured account
Not bad for an afternoon project.

